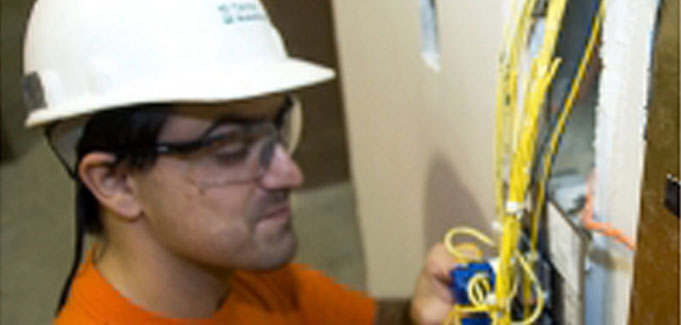
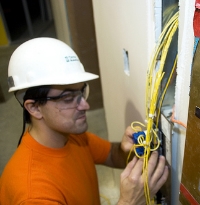
Always use a licenced electrician to connect your Power Analyser. Photo courtesy of OregonDOT(CC Attribution)
One of the best features of our Power Analysers is that they can act as a stand-alone data logger. This means they automatically take measurements at predefined time intervals (eg, every 2 seconds or every 15 minutes), and record all the measurements to a memory card. After the data logging session, the memory card can then be taken out from the instrument, connected to a PC, and the recorded data can easily be viewed in a table or graph, or further analysed using Excel.
To get the best results from a data logging session, the following tips should be observed:
- Play it safe. Use a licensed electrician to connect up the power analyser. These instruments are designed for connecting to dangerous mains voltages, so don’t dice with death, use an electrician to make sure it’s done safely and correctly.
- Wire up the instrument correctly. This means attaching the L1 current clamp to the same phase as the L1 voltage probe, and the same for L2 and L3 – and making sure the clamps are oriented the right way around. Also it’s recommended that the voltage probes should be securely connected to appropriate circuit breakers. It’s easy to see if you have got the phase/clamp orientation correct once the power has been applied again – the instrument shows what it’s measuring on the screen, so if you have mixed up the phases or reversed a clamp, you will typically see some strange measurements, such as negative power, or a crazy power factor.
- Power the instrument from the mains adaptor. These instruments can be powered from either their internal batteries or the external mains adaptor, however the batteries typically only last a few hours, so if you want your session to go longer than this you will need to use the mains adaptor.
- Install a fresh set of batteries, even when using the mains adaptor. If there’s a sudden power outage whilst the instrument is recording, the loss of power can cause the memory card to be corrupted. Hence having batteries installed will prevent this from happening in most cases.
-
Configure the Settings screen. Go through the Settings screen and make sure it’s all configured right. Keep an eye out for future blog posts for an explanation of all the settings on this screen.
- Ensure there is enough free space on the memory card. Even though the 2GB (or larger) card represents a huge amount of data storage, it can still fill up eventually if you don’t pay attention to deleting old data.
- Ensure recording has started. Press the Record button and check that the screen shows “REC” in the bottom right corner, along with the number of records it has saved.
- Shut down the Power Analyser before removing the SD card. Press the Record button to stop recording, then turn off the instrument using the Power button. Then remove the SD card.
- Use the included DPlot software to visualise results. Check the included instructions for the quickest way to get your data into a graph. It’s best to only select the measurements you are interested in, to avoid a cluttered graph. The software will plot the whole length of the data, and then you can zoom into the section(s) you need to focus on.
